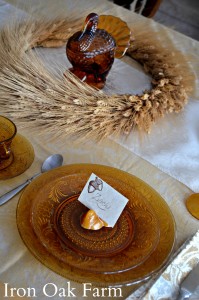
 These turkey place card holders are very easy to make, and they give the Thanksgiving table a little something extra. I love the warm golden hue of the beeswax and the scent of the honey-infused wax. It’s the perfect color to compliment the late autumn palette. When packed carefully, they can be used for many years. A set of these would also make a nice hostess gift.
You will need:
beeswax (each mold holds approximately .7 oz of wax, so multiply that by the number of guests you’re having for dinner)
a pot or heat proof bowl designated for melting wax and can be set over another pot to create a double system
turkey chocolate mold (This mold can be found at Life of the Party, but any three dimensional chocolate mold would work.)
cooking spray
something to protect your work surface (I use an old cookie sheet for all my wax projects)
pot holder
an old knife
card stock
scissors
fall stamps or stickers
something to write with
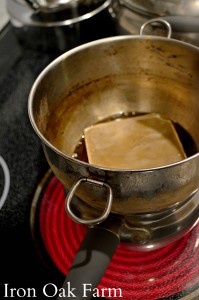 To begin, add about an inch of water to the double boiler and set the wax pot on top. Add the beeswax and heat on low until the wax is melted completely.
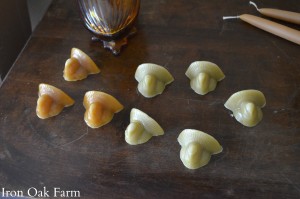 Once melted, you can add wax coloring if you like. I added a bit of sunflower yellow and reddish brown (found at Lonestar Candle Supply) so the turkeys would match my amber glass dishes, but the beeswax alone is beautiful. Here’s an example of both colors.
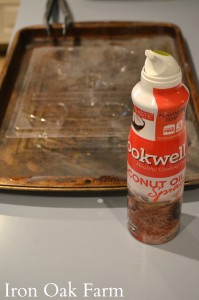 While the wax is melting, spray the chocolate mold with cooking spray. If the spray puddles in the low spots, tip out the extra oil. I place the mold on an old cookie sheet that I use as a work surface for candle making. That way if the wax spills it won’t run off the counter onto the floor.
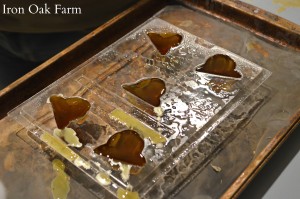 When the wax is melted, use the pot holders to pour the wax into the molds just to the top, (be careful you don’t burn yourself on the steam). If it spills a bit, no worries, you can trim up the molds later.
Let the wax set up for a few hours; overnight is best. When the wax is set, it will pull away slightly from the mold.
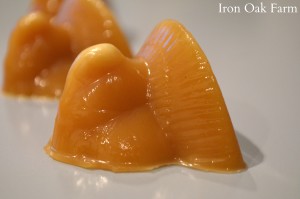 Turn the mold over an gently tap out the hardened turkeys. Break off the hardened spills, or use a knife to trim neatly.
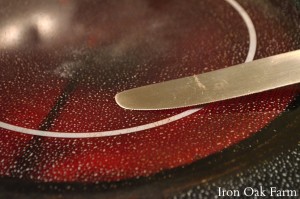 Now, take a knife and heat it on the burner of the stove for about 20 seconds.
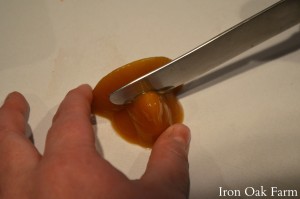 Use the hot knife to melt a slit in the back of the turkey. This will hold the name card. Repeat for all the turkeys. (Be very careful in this step not to burn yourself.)
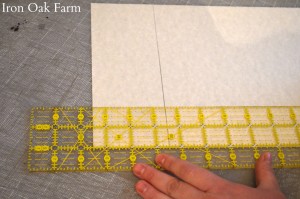 To make the card, I’m using some tan, heather card stock cut 2×3 inches
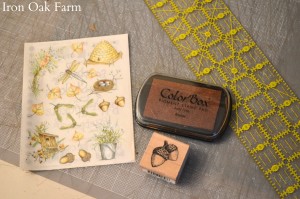 and this acorn stamp from Inkadinkado and a bronze, metallic stamp pad from Color Box. Both can be found at Michael’s Craft Store. You could use scalloped scrapbooking scissors, stickers or anything you like to decorate the card.
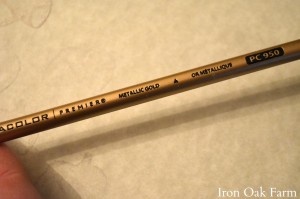 I used a gold metallic pencil to write the names.
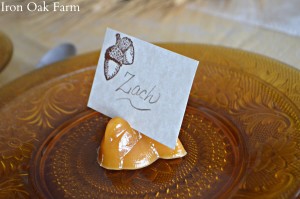 Set the turkey at each place setting and tuck the card in the slot you made with the heated knife. Et voila!
You can use this same process for any kind of place card holder, from weddings to get togethers, to dinner parties. Or recycle: just melt them down again and remold for other events. Be creative!




1 Comment
Great article and useful info for beeswax at Thanksgiving